Log in to your Shopware backend.
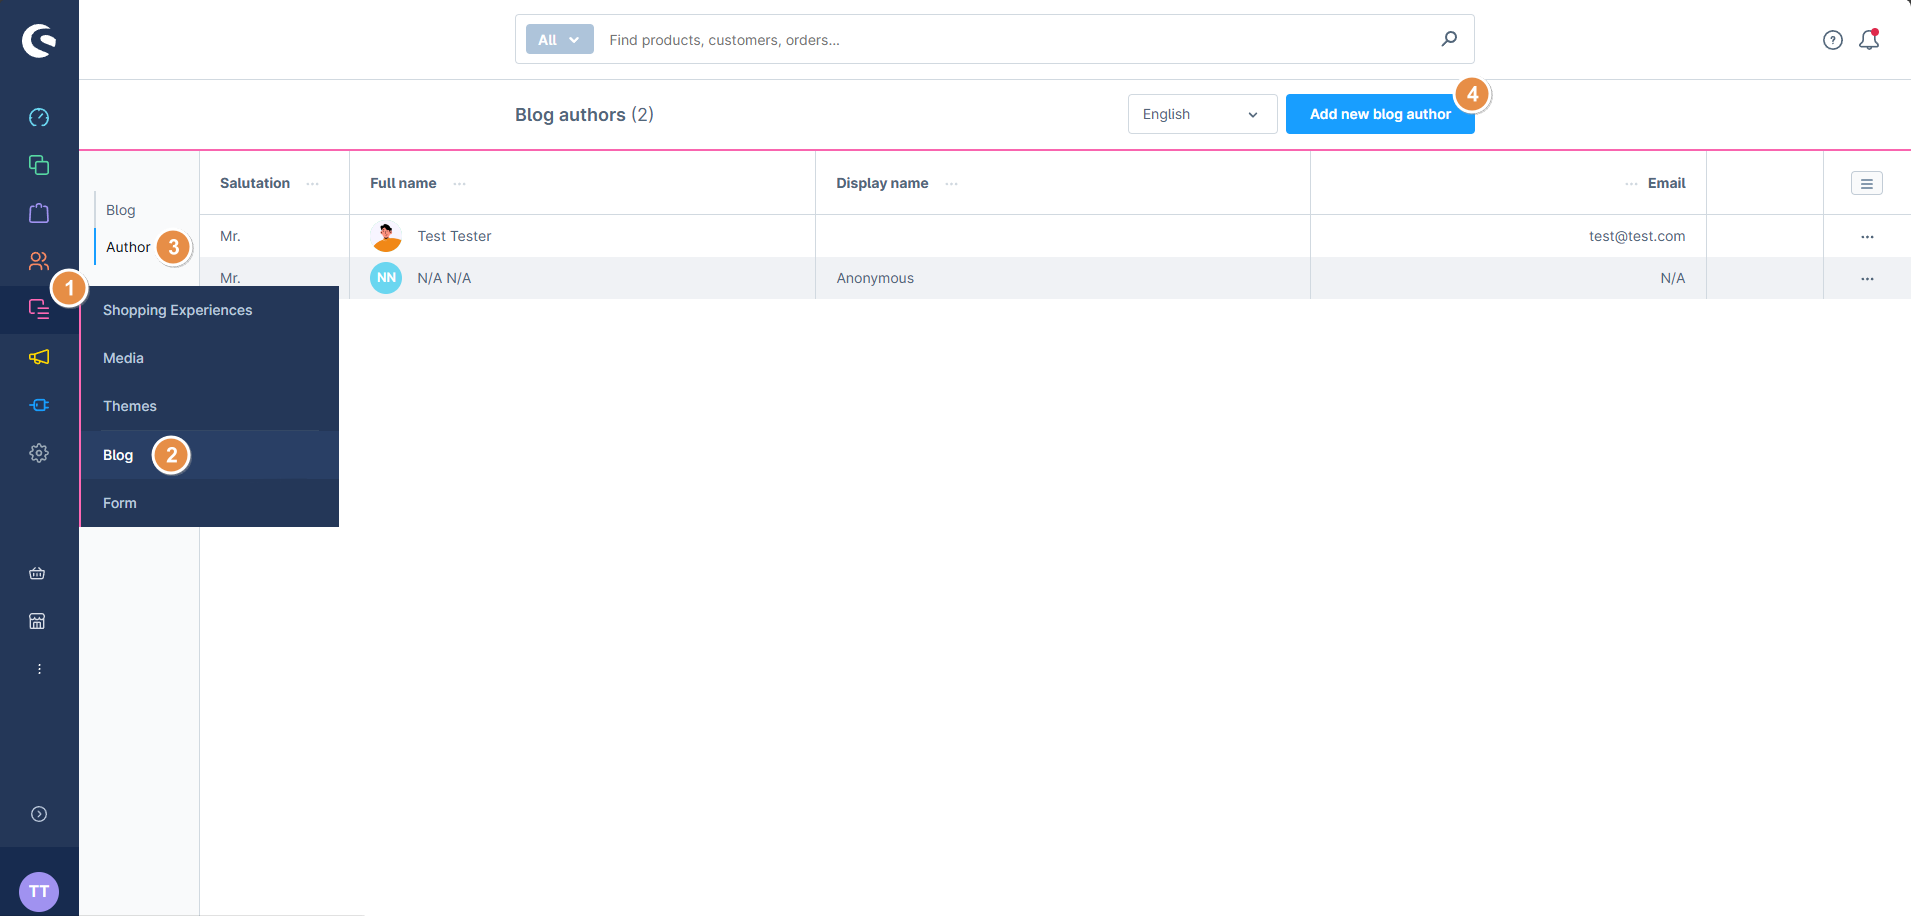
Go to your blog overview, click on Author and then “Add new blog author”.
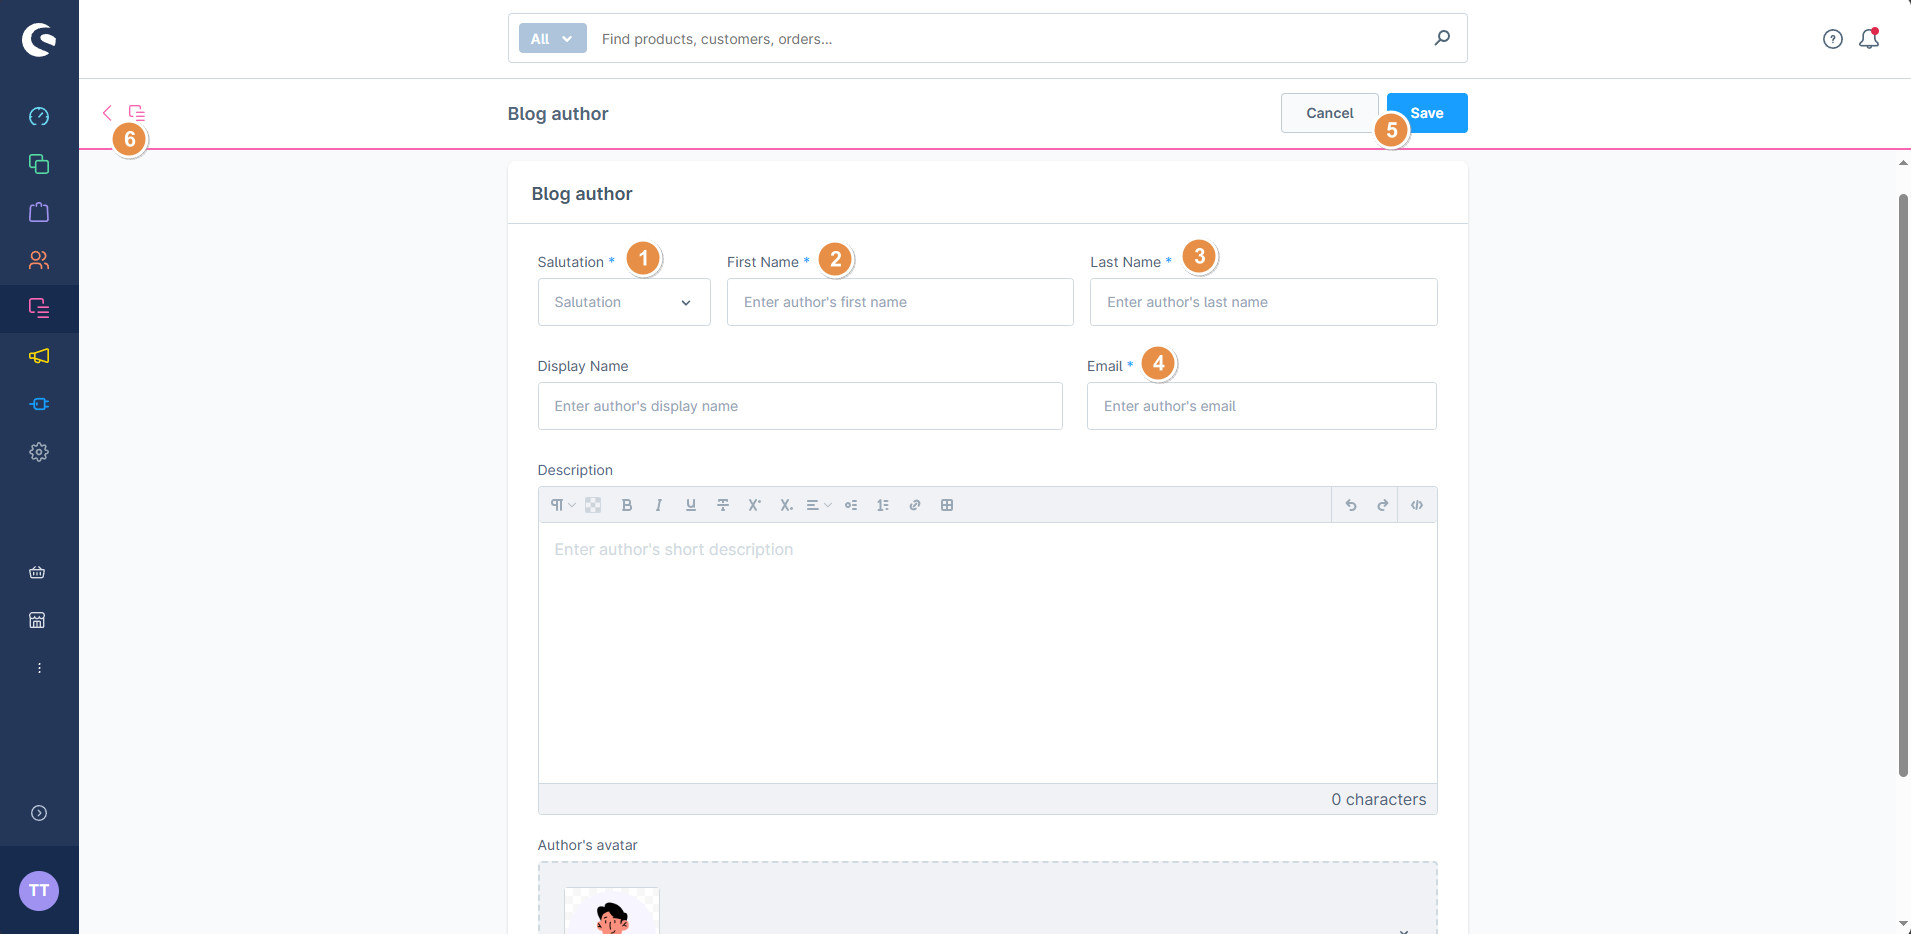
Fill in the required fields, click save, and then click back.
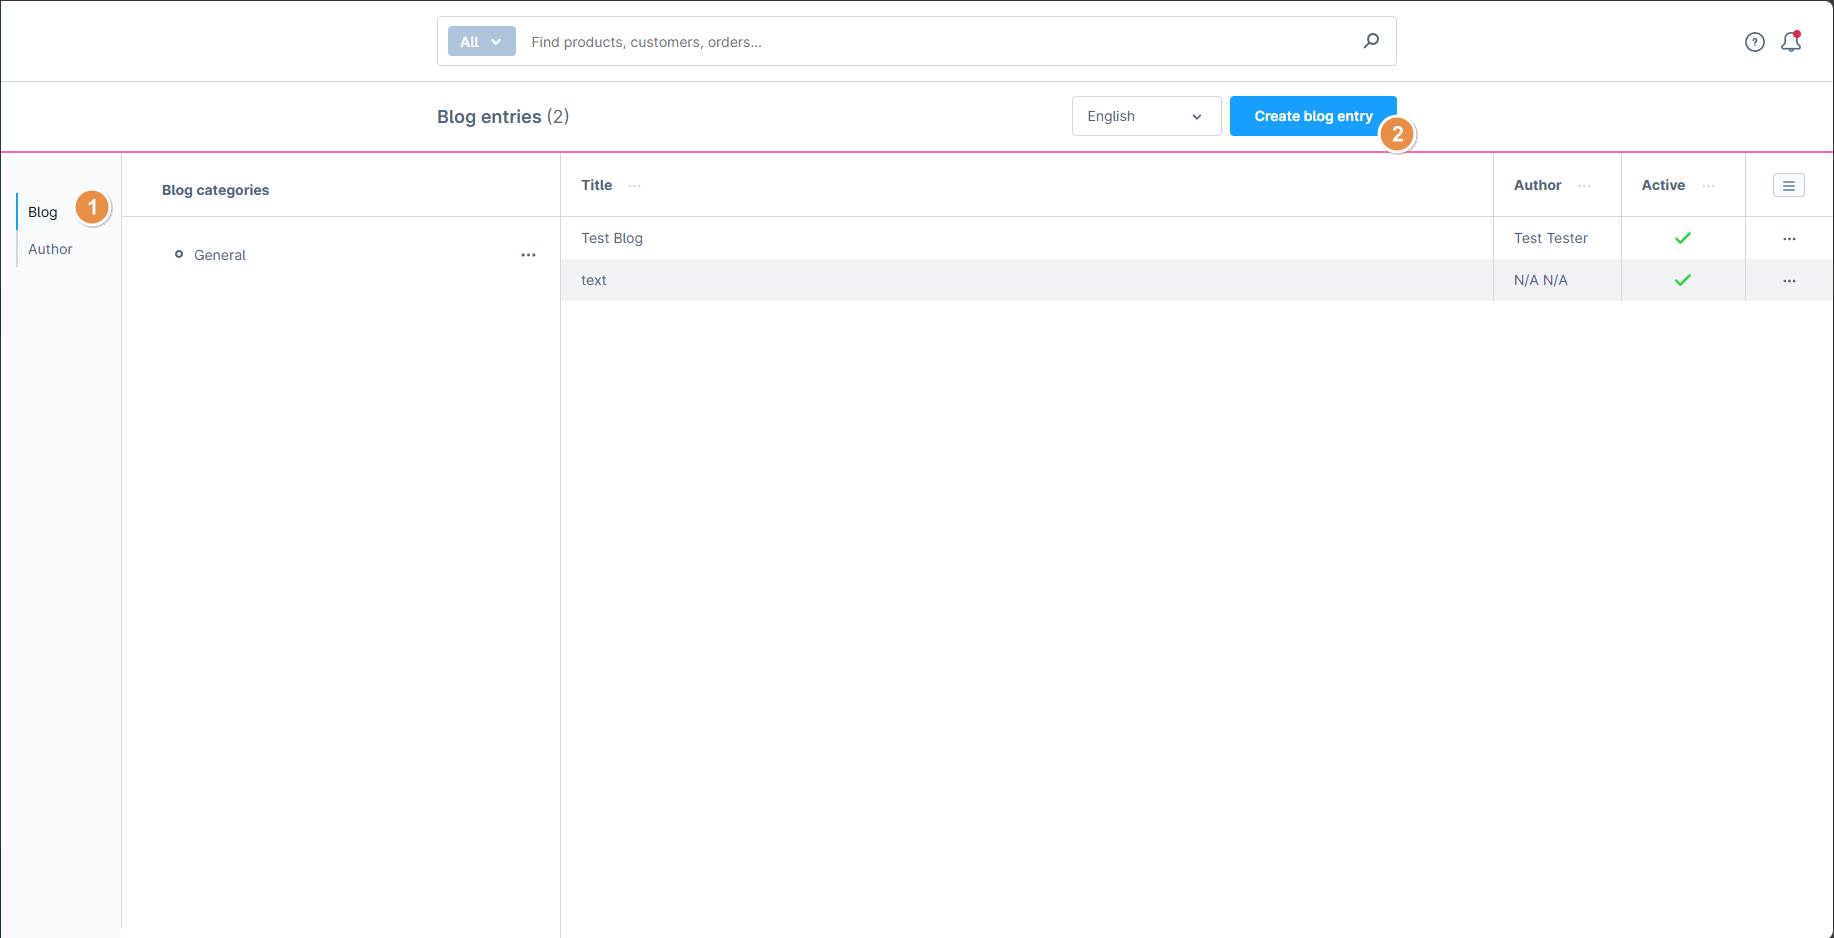
Click on “Blog” and then “Create blog entry”.
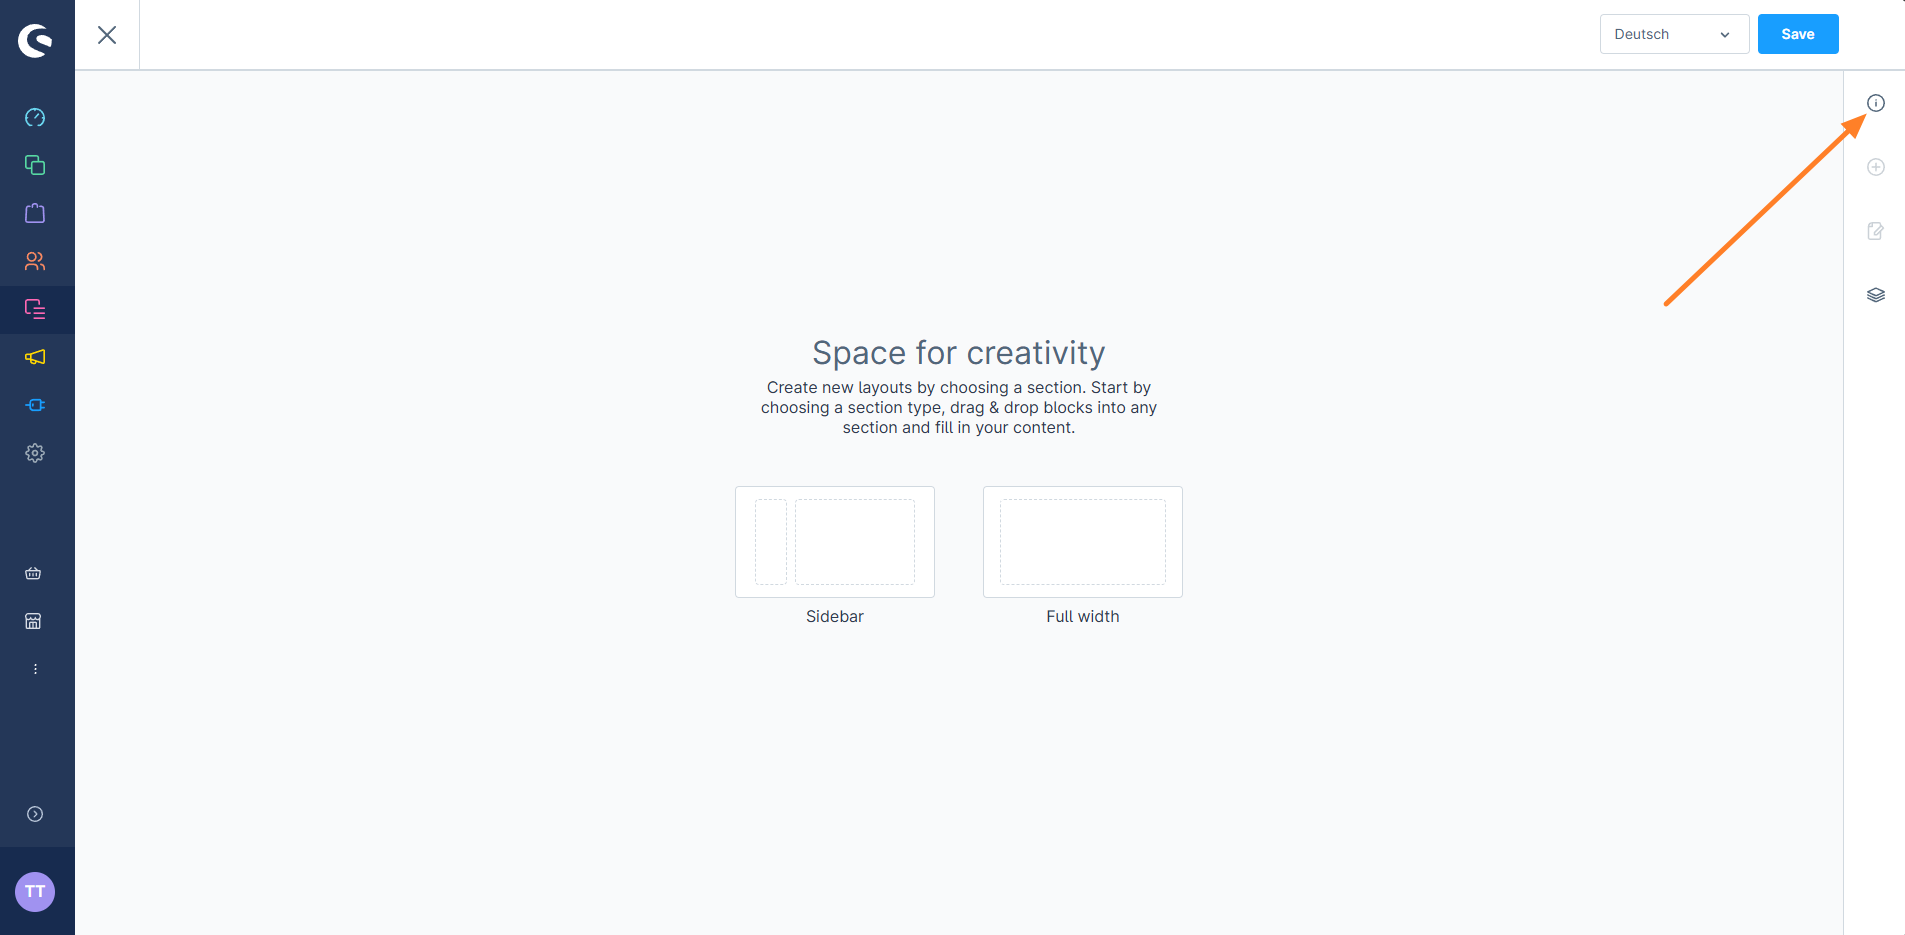
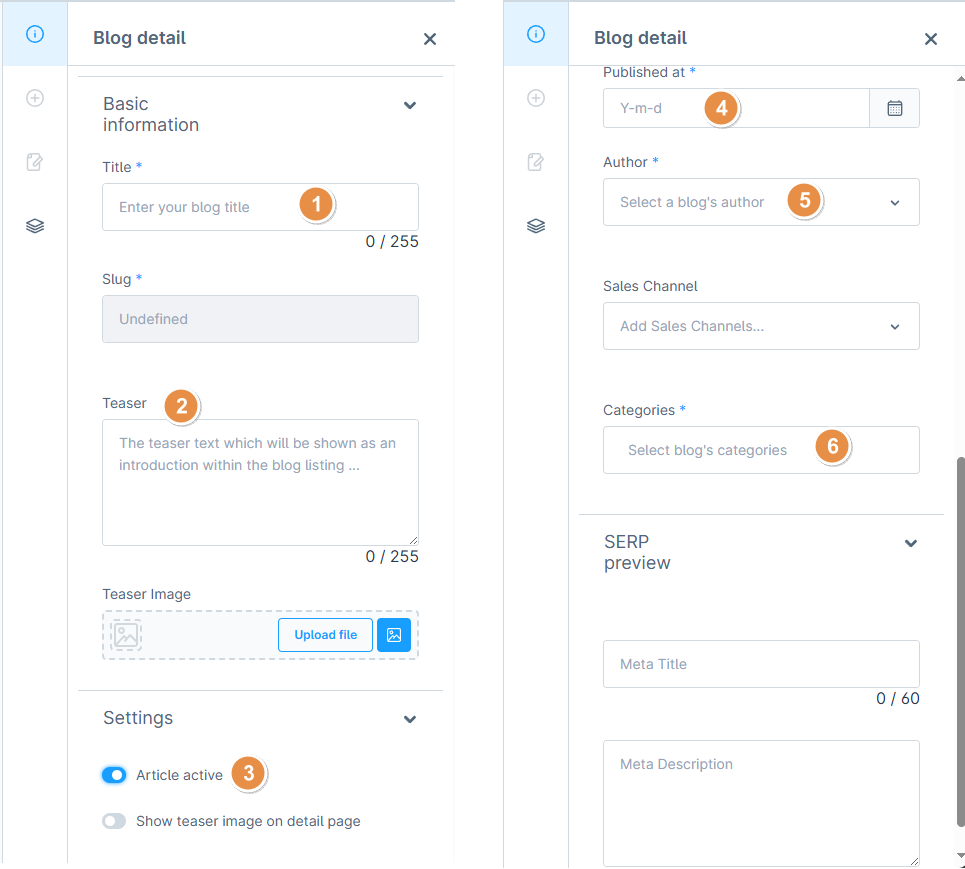
Click on the “i” in the top right corner. You need to fill in this information before you can write your blog.
Fill in the required data. In field 5, select the author you just created. Make sure your blog is active (point 3)!
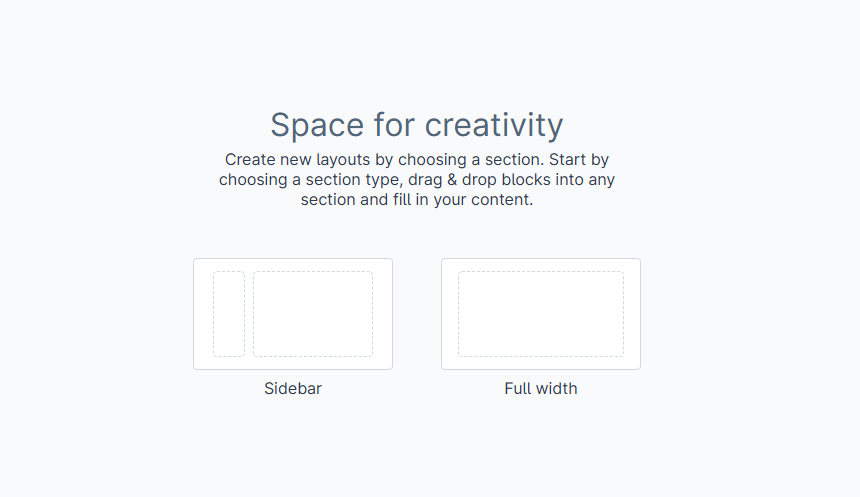
Select your desired layout.
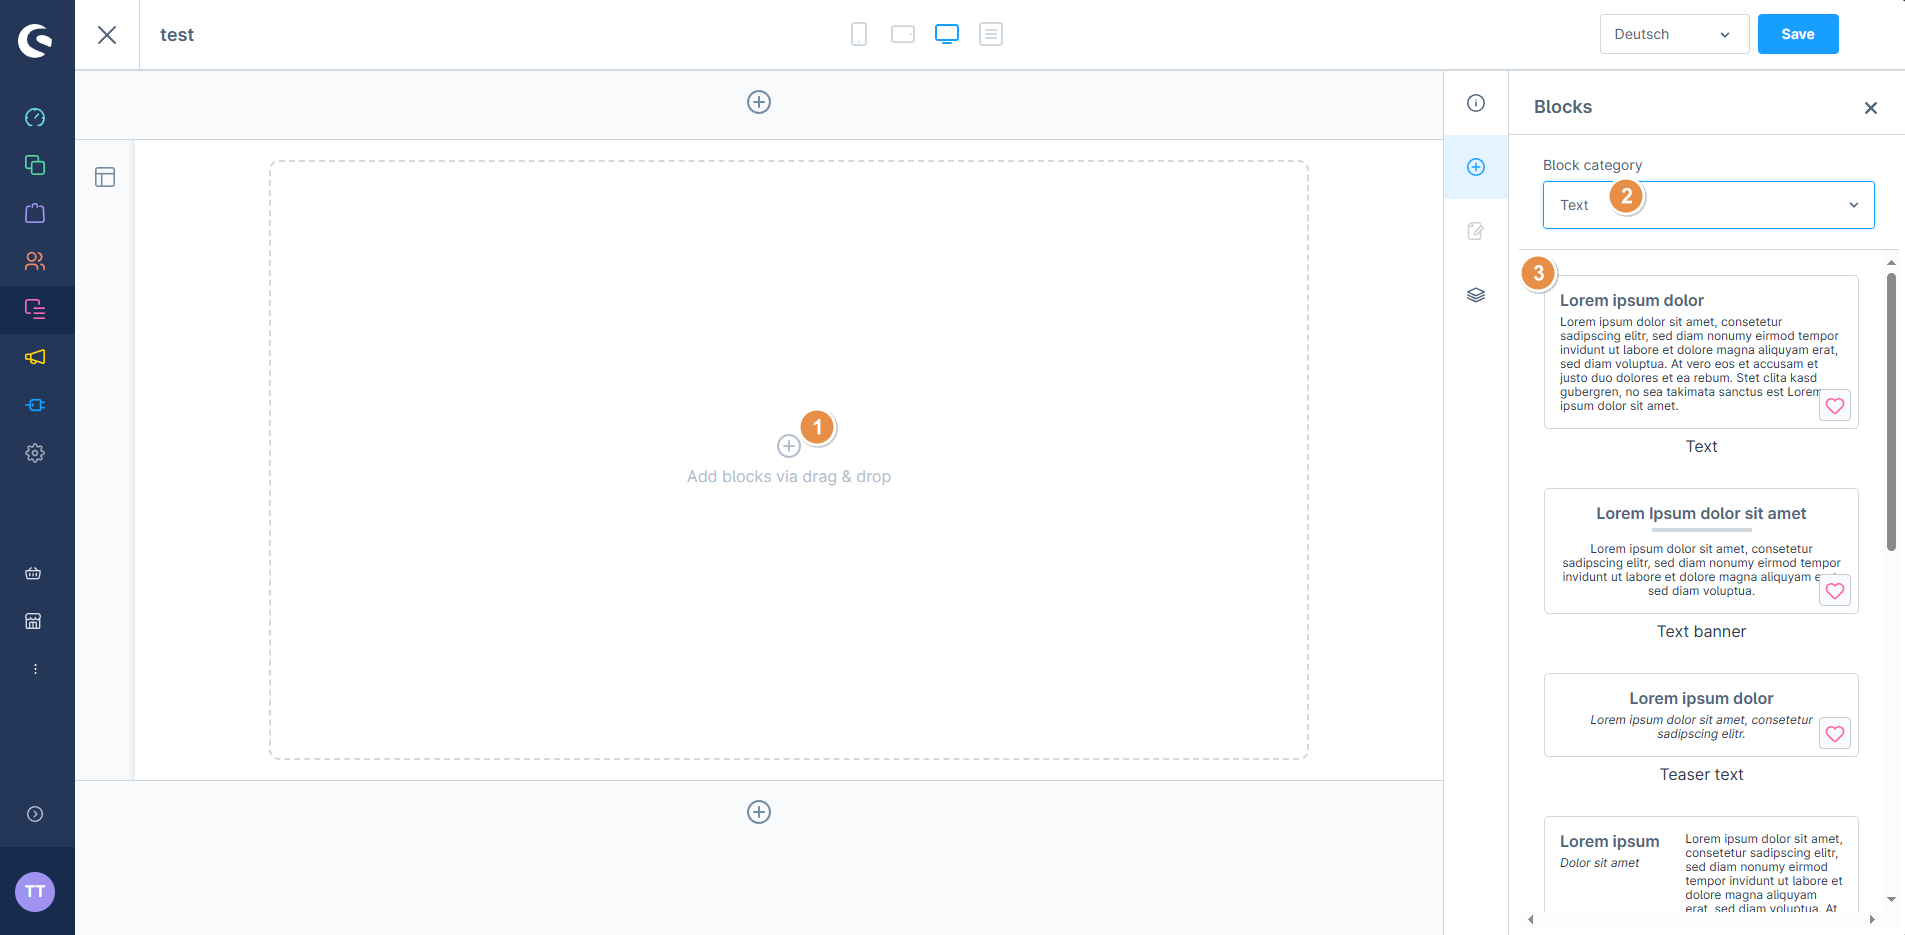
You can now start creating your blog post by adding photos, text or other elements.
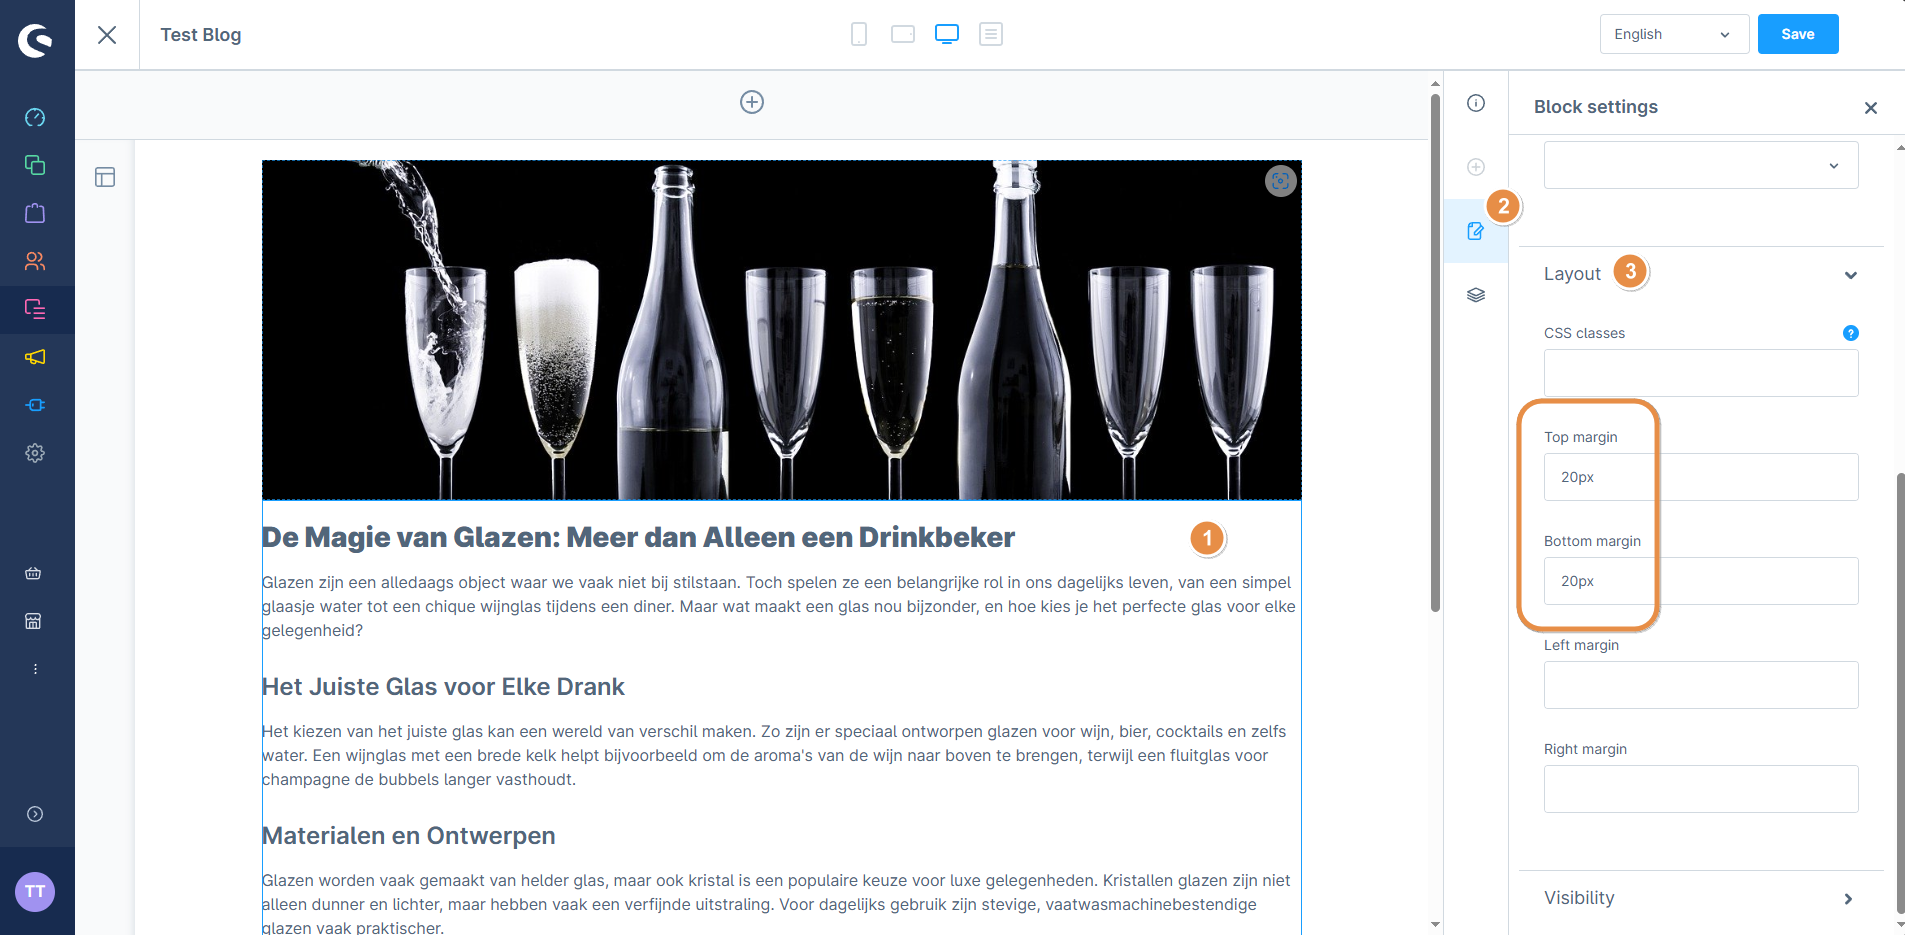
When adding text, there might be space on the left and right. To remove it, click on the text, then the pencil-on-paper icon, choose “Layout” and leave the Left and Right margin fields empty.
When you're done, click save and preview your blog.